Buzzers come in two varieties, Active and Passive. An active buzzer just outputs a single tone when you connect it to Vcc and ground. A passive buzzer is similar to a loudspeaker and needs a signal to make it work.
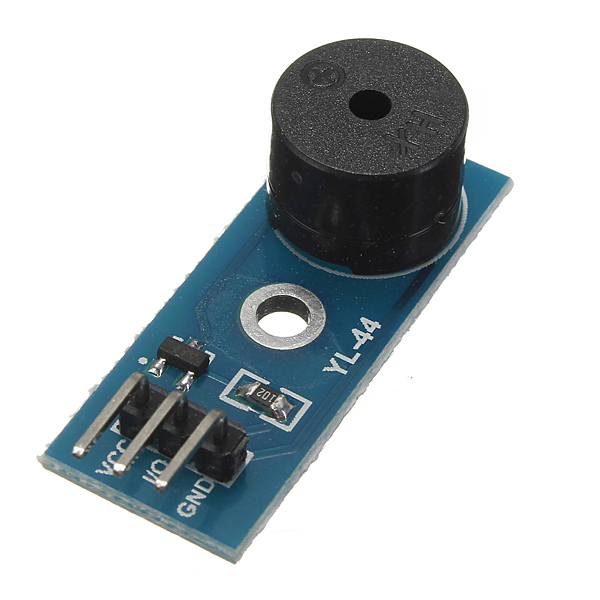
The YL-44 is a small buzzer module which operates around the audible 2 kHz frequency range. It is an active buzzer, which means that it produces sound by itself, without needing an external frequency generator. Taking the I/O pin LOW will turn the buzzer ON and taking this pin HIGH will turn the buzzer OFF (as will leaving this pin OPEN). This device could be controlled by PWM.
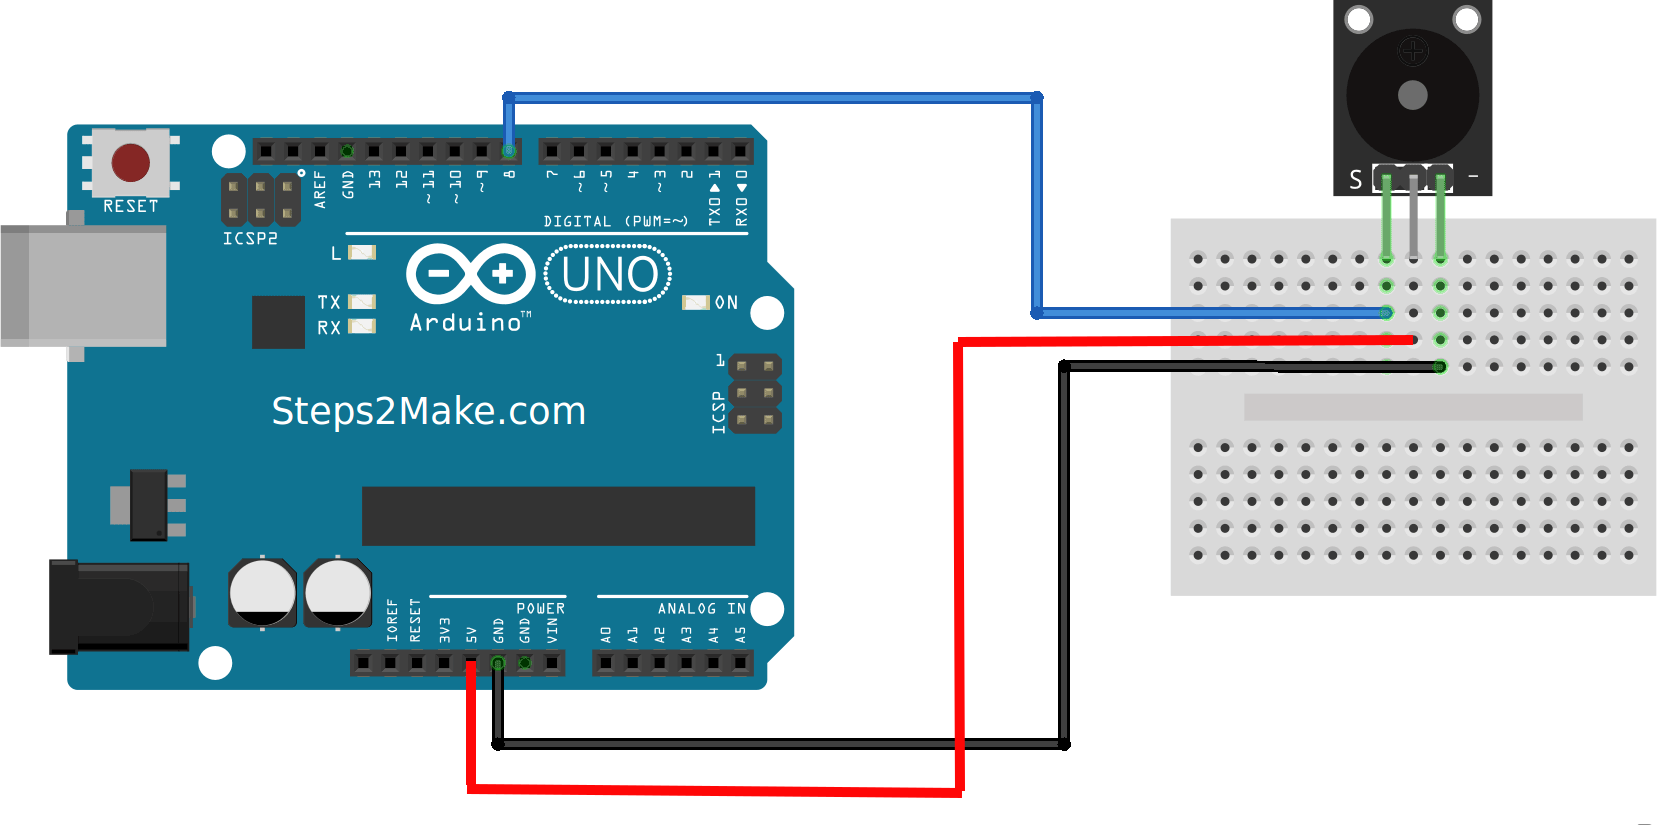
Arduino Connections with Active Buzzer Module (KY-012)
Check connection sequence as per you module
Note: Make sure (+) to +ve and (-) to GND, S or IO to the Arduino IP pin 8
Different modules use different connection sequence
Arduino Program for Active Buzzer Module
Note: YL-044 requires program similar to Passive buzzer
By simply turning IO line HIGH buzzer can be turned on. No need to generate oscillating signals.
//Example code KY012 active buzzer
//Steps2Make.com

int speakerPin = 8;
void setup () {
  pinMode (speakerPin, OUTPUT);
}
void loop () {
  analogWrite (speakerPin, 255);
  delay (50);
  analogWrite (speakerPin, 0);
  delay (10);
}
This is a active buzzer so its easy in use. You just apply voltage to the buzzer and it makes sound. Disadvantage is that you can’t determine the frequency of the sounds, for this you need a passive buzzer.


Responses